
Now that you’ve had your laptop for a while you may notice that it can’t hold as much memory, or performance. To get the most out of your beloved laptop, it’s time to change out those old hard disk drives with newer ones, or SSD’s. In this article we will educate you on how to properly change out your hard drive for an ASUS X550Z.
(Tools needed )Things you need :
- Tweezer Set
- Guitar Picks
- Electric Screwdriver
- Turn Your Laptop Off
You don’t want to have the power running when you’re trying to take apart your computer. Remove the battery from your laptop, if possible, and then plug it in so that the battery can charge while you are working.
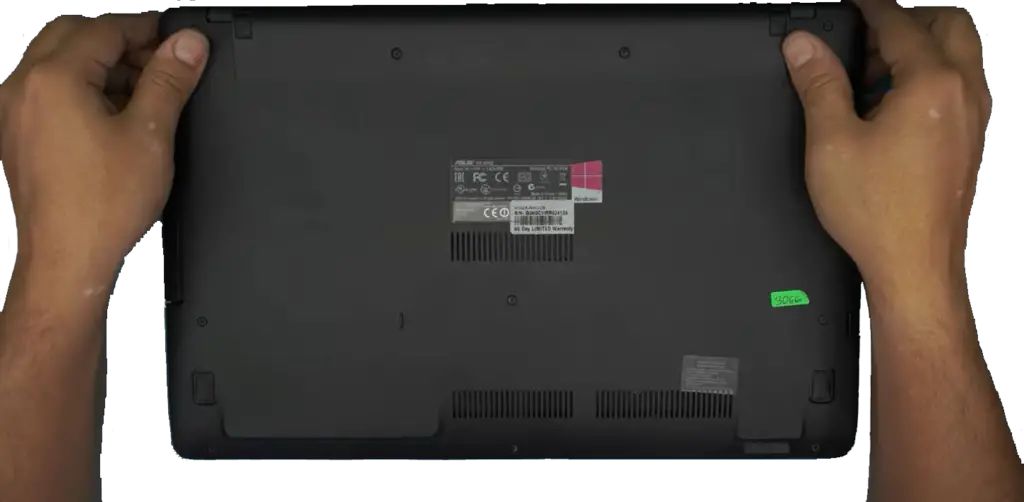
- Turn Your Laptop Over
Once you have turned off your computer, turn it over so that you can see the bottom of the laptop. There should be only a few screws holding the bottom plate on. If there is any tape holding the plate down, remove it first before removing any screws.
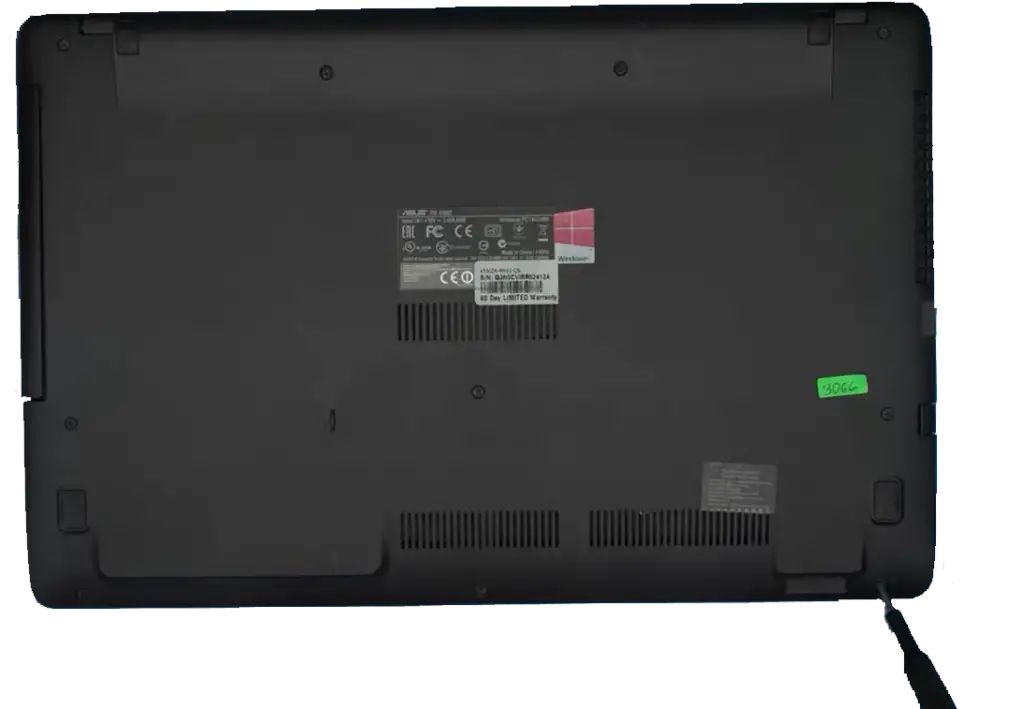
- Remove All Screws on Bottom Plate
You may need a screwdriver to remove these screws because they are usually smaller than standard-sized screws. Once all of these screws are removed, set them aside where they won’t get lost or misplaced. Some laptops require tools other than screwdrivers to remove certain parts of the hard drive assembly, such as Philips head screwdrivers or Allen wrenches. Check the documentation that comes with your laptop if you are unsure what tools you will need to complete this project.
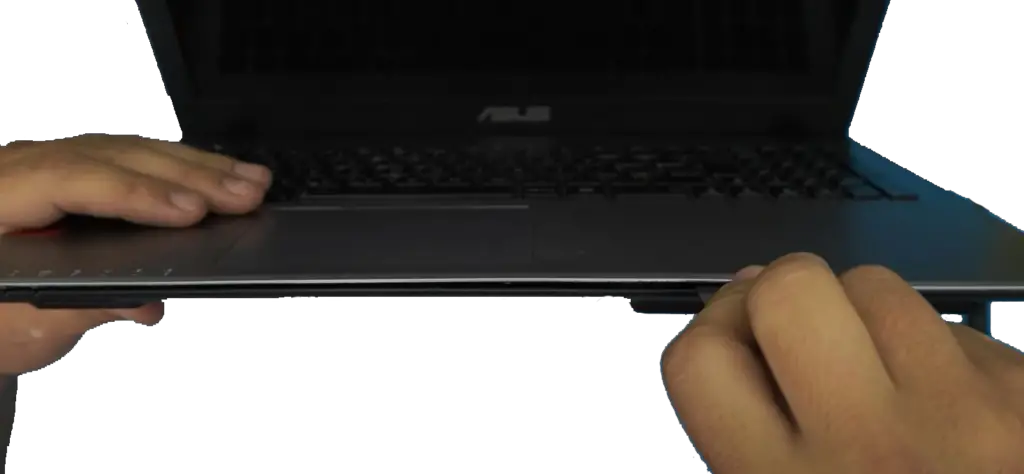
- Separating the back cover from the laptop base
After you remove all the screws, take your opening tool and start separating the back cover from the laptop base. Go slowly and make sure not to damage any of the internal cables.
When you get to the end of the cover, you can use a metallic Guitar Picks screw driver to separate it.
- Detach cables
Once its opened up you will need to detach some cables, namely the Power, Keyboard and Touch Pad. This where tweezer comes in hand.

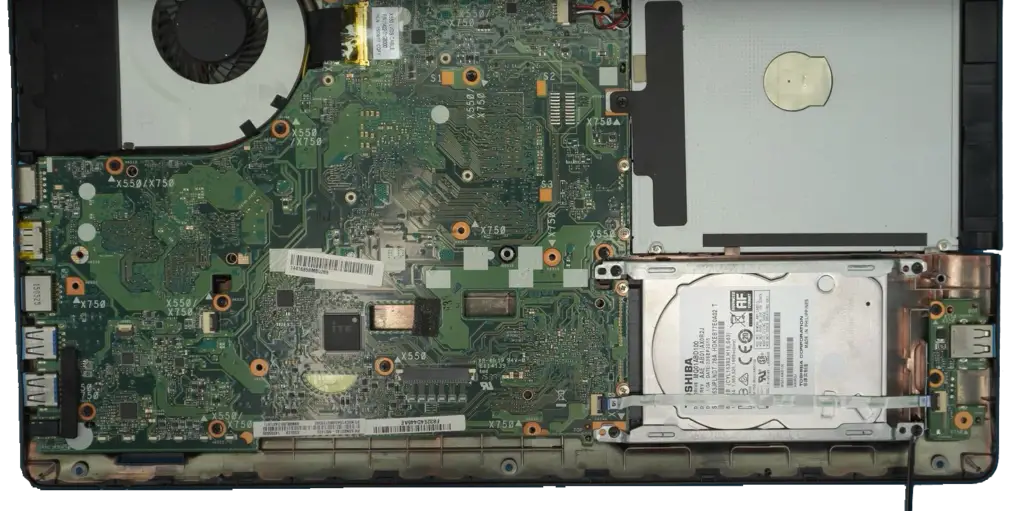
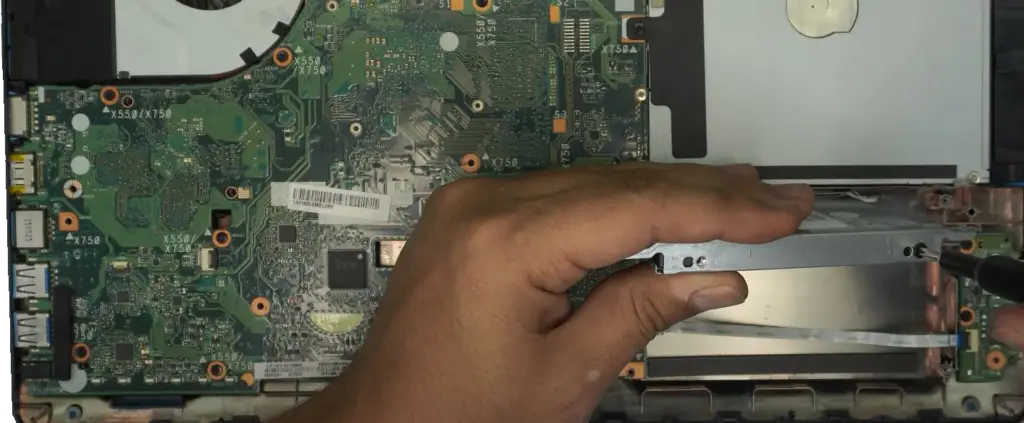
- Remove The Old Hard Drive
To remove the hard drive, you will need to unplug the flex cable that connects the USB to the Mother Board.
Unscrew the 4 screws that hold the hard drive to the main board.
Slide the hard drive to the right to detach from the laptop and remove it from the caddy
- Place The New Hard Drive Into The Caddy
The first thing you need to do is place the new hard drive into the caddy. Once this is done, make sure the hard drive is seated in the caddy correctly.
Make Sure The Hard Drive Is Seated In The Caddy Correctly
Now that the hard drive is in the caddy, you have to make sure it’s seated correctly. If not, it won’t work properly and may even cause damage to your laptop.
- Reinsert The New Hard Drive Caddy Into Your Laptop And Reattach The Screws
Put the new hard drive caddy into your laptop and reattach all of the screws. You can now connect your new hard drive and get back up and running quickly without paying anyone else to do this job for you!
Hopefully, now you know how to change your hard drive on an ASUS X550Z. It may seem intimidating, but it’s really a rather simple process that anyone can do. You’ll want to make sure that you get a compatible hard drive and follow these instructions closely.
Is ASUS x550z upgradable?
yes, it is upgradable. the model you have has a 1 TB hard drive and a quad-core CPU (AMD 4Core A10-7400 processor). You can upgrade both of these components. It has 2 RAM slots and supports DDR3L 1600 MHz, So you can add up to 16 GB.
How do I open my ASUS x550z?
If you need to open the ASUS x550z, I would suggest getting a screwdriver and unscrewing the screws on the back of it. Once you do that, you can easily take off the back and see everything inside of your laptop!
Can I replace the hard drive in my ASUS laptop?
Yes. It is easy to replace the hard drive in your ASUS laptop, as long as you have a manual screwdriver and some time to spare. Here is how to do it:
Step 1 – back up all data on the hard drive
It’s imperative that you back up all of your data before you start. If your hard drive is still functional, make sure to copy all of your files onto an external storage device such as a USB flash drive or external hard disk.
Step 2 – Unscrew the screws on the base of your ASUS laptop
Turn off your ASUS laptop and unplug it from its power source. Lay it down on a flat surface, so that you can access its underside. You should see a number of screws holding the base paneling to the rest of the computer; use a manual screwdriver to unscrew these screws and then remove the base panel.
Step 3 – remove the old hard drive and install the new one
Once you have removed the base panel, you should be able to see both RAM modules and the old hard drive itself (which is held in place by a metal bracket). To remove this bracket, simply push down on either end until it clicks out


